Our experts will guide you in making technical decisions that provide user-centric solutions with a high ROI.
We partner with you to build core software systems fundamental to your business that support your ability to grow, innovate and remain agile and resilient. Now and into the future.
Our workWe partner with you to build core software systems fundamental to your business that support your ability to grow, innovate and remain agile and resilient. Now and into the future.
Our work
Our experts will guide you in making technical decisions that provide user-centric solutions with a high ROI.
We develop future proof software solutions that empower your business to stay ahead of the competition.
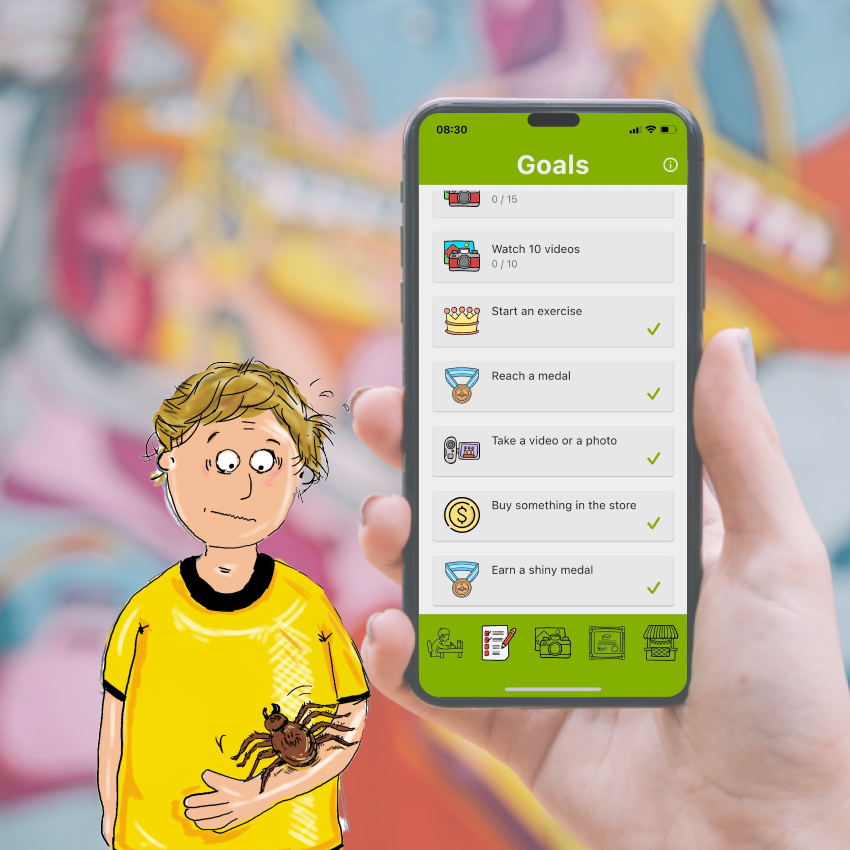
We provide digital exam solutions for assessments & certifications that are reliable, secure & highly scalable.

For a solution that could take two to three years, Trifork made it happen in a single year.

Trifork was able to show us the way and guide us in making the right choices at the crucial moment. We still reap the benefits of this today.

Since engaging with Trifork as our technological partner in developing Ysis 2.0. their expertise & insight has given us significant return on investment.
In a short time span, Trifork were capable of delivering a very advanced digital assessment system which enables us to meet our current and future needs.
Driving your business forward
We believe in delivering value by providing self managing teams of software experts, who quickly understand your business needs and ensures continuity of knowledge transfer throughout your project.
Collaborating in teams guarantees that we consistently provide excellence to your organization, empowering you to stay one step ahead of the competition.


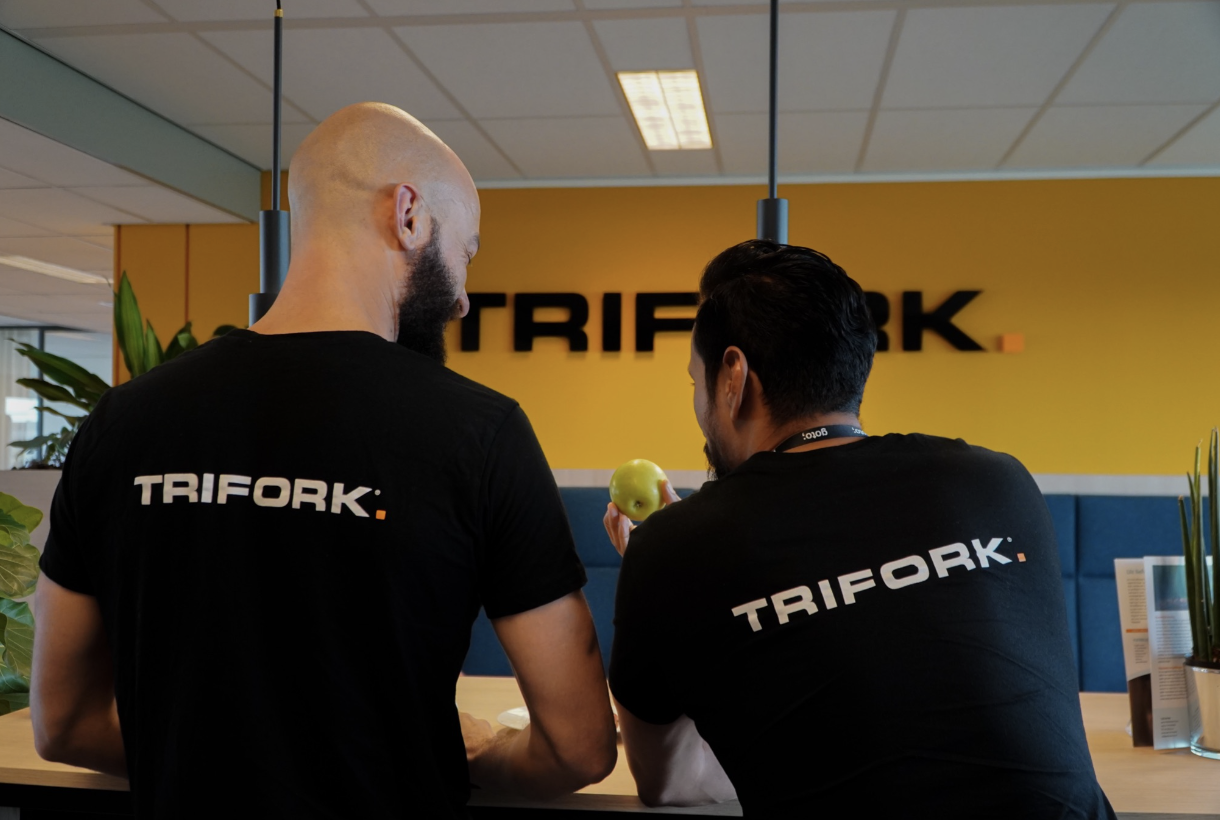
Trifork Amsterdam DNA
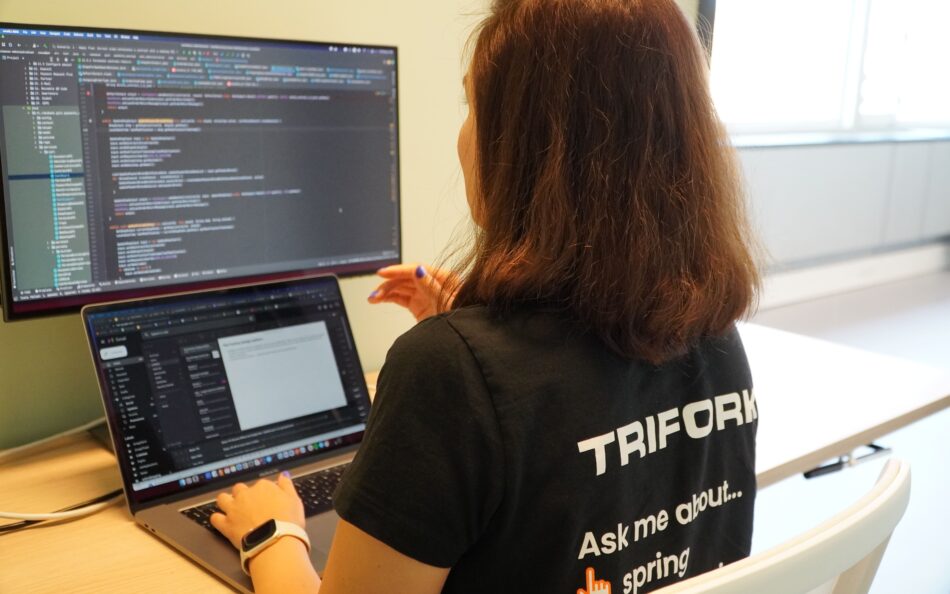
We are always on the lookout for digital talent. At Trifork we’re working to find new ways to improve peoples lives through software. Sounds fun? Join us!

Want to join us?
Check out our open positions and apply today!
Contact Us
We look forward to learning how we can help you realize your ambitions. Leave your contact information & we’ll get in touch within 1 business day to arrange a short 30 minute introduction call.
Content